参考文章:
Ubuntu22.04使用apt安装MySQL8指南 – 气势磅礴 (ipangbo.cn)
文章代码来源:高并发Web服务器
环境:
vmware 16 pro
ubuntu 22.04
- 安装mysql,及开发工具
1 | sudo apt install mysql-server |

正常root权限可以直接通过mysql指令进入数据库。
1
mysql> SHOW DATABASES;
Mysql安装成功后,默认的root用户密码为空,你可以使用以下命令来创建root用户的密码:
1
2
3mysqladmin -u root password "new_password";
#接着可以使用 进入数据库 mysql -h 主机名 -u 用户名 -p 登录本地可忽略 -h选项
mysql -u root -p创建数据库
1
2
3
4
5
6
7
8
9
10
11
12
13
14mysql> create database webserver;
Query OK, 1 row affected (0.00 sec)
mysql> use webserver;
Database changed
//创建user表
mysql> CREATE TABLE user(
-> username char(50) NULL,
-> password char(50) NULL
-> )ENGINE=InnoDB;
Query OK, 0 rows affected (0.01 sec)
mysql> INSERT INTO user(username, password) VALUES('nowcoder', 'nowcoder');
Query OK, 1 row affected (0.01 sec)
克隆代码
1
2
3
4
5
6
7
8
9
10
11
12
13
14
15
16
17
18
19
20
21
22
23
24
25
26
27
28
29
30
31
32
33
34
35
36
37
38
39
40
41
42
43
44
45
46
47
48
49
50
51
52
53
54
55
56
57
58
59
60
61
62
63
64
65
66
67
68
69
70
71
72
73
74
75
76
77
78
79
80
81
82
83
84
85
86
87
88
89
90
91
92
93
94
95
96
97
98git clone https://github.com/gaojingcome/WebServer.git
代码目录树如下
dawnlake@dawnlake-virtual-machine:~/workspace/C++/WebServer$ tree
.
├── build
│ └── Makefile
├── code
│ ├── buffer
│ │ ├── buffer.cpp
│ │ └── buffer.h
│ ├── config
│ │ └── config.h
│ ├── http
│ │ ├── httpconn.cpp
│ │ ├── httpconn.h
│ │ ├── httprequest.cpp
│ │ ├── httprequest.h
│ │ ├── httpresponse.cpp
│ │ ├── httpresponse.h
│ │ └── readme.md
│ ├── log
│ │ ├── blockqueue.h
│ │ ├── log.cpp
│ │ ├── log.h
│ │ └── readme.md
│ ├── main.cpp
│ ├── pool
│ │ ├── readme.md
│ │ ├── sqlconnpool.cpp
│ │ ├── sqlconnpool.h
│ │ ├── sqlconnRAII.h
│ │ └── threadpool.h
│ ├── readme.md
│ ├── server
│ │ ├── epoller.cpp
│ │ ├── epoller.h
│ │ ├── webserver.cpp
│ │ └── webserver.h
│ └── timer
│ ├── heaptimer.cpp
│ ├── heaptimer.h
│ └── readme.md
├── LICENSE
├── Makefile
├── readme.assest
│ └── 压力测试.png
├── readme.md
├── resources
│ ├── 400.html
│ ├── 403.html
│ ├── 404.html
│ ├── 405.html
│ ├── css
│ │ ├── animate.css
│ │ ├── bootstrap.min.css
│ │ ├── font-awesome.min.css
│ │ ├── magnific-popup.css
│ │ └── style.css
│ ├── error.html
│ ├── fonts
│ │ ├── FontAwesome.otf
│ │ ├── fontawesome-webfont.eot
│ │ ├── fontawesome-webfont.svg
│ │ ├── fontawesome-webfont.ttf
│ │ ├── fontawesome-webfont.woff
│ │ └── fontawesome-webfont.woff2
│ ├── images
│ │ ├── favicon.ico
│ │ ├── instagram-image1.jpg
│ │ ├── instagram-image2.jpg
│ │ ├── instagram-image3.jpg
│ │ ├── instagram-image4.jpg
│ │ ├── instagram-image5.jpg
│ │ └── profile-image.jpg
│ ├── index.html
│ ├── js
│ │ ├── bootstrap.min.js
│ │ ├── custom.js
│ │ ├── jquery.js
│ │ ├── jquery.magnific-popup.min.js
│ │ ├── magnific-popup-options.js
│ │ ├── smoothscroll.js
│ │ └── wow.min.js
│ ├── login.html
│ ├── picture.html
│ ├── register.html
│ ├── video
│ │ └── xxx.mp4
│ ├── video.html
│ └── welcome.html
├── test
│ ├── Makefile
│ ├── readme.md
│ └── test.cpp
└── webbench-1.5
├── Makefile
├── socket.c
└── webbench.c编译之后执行可运行程序
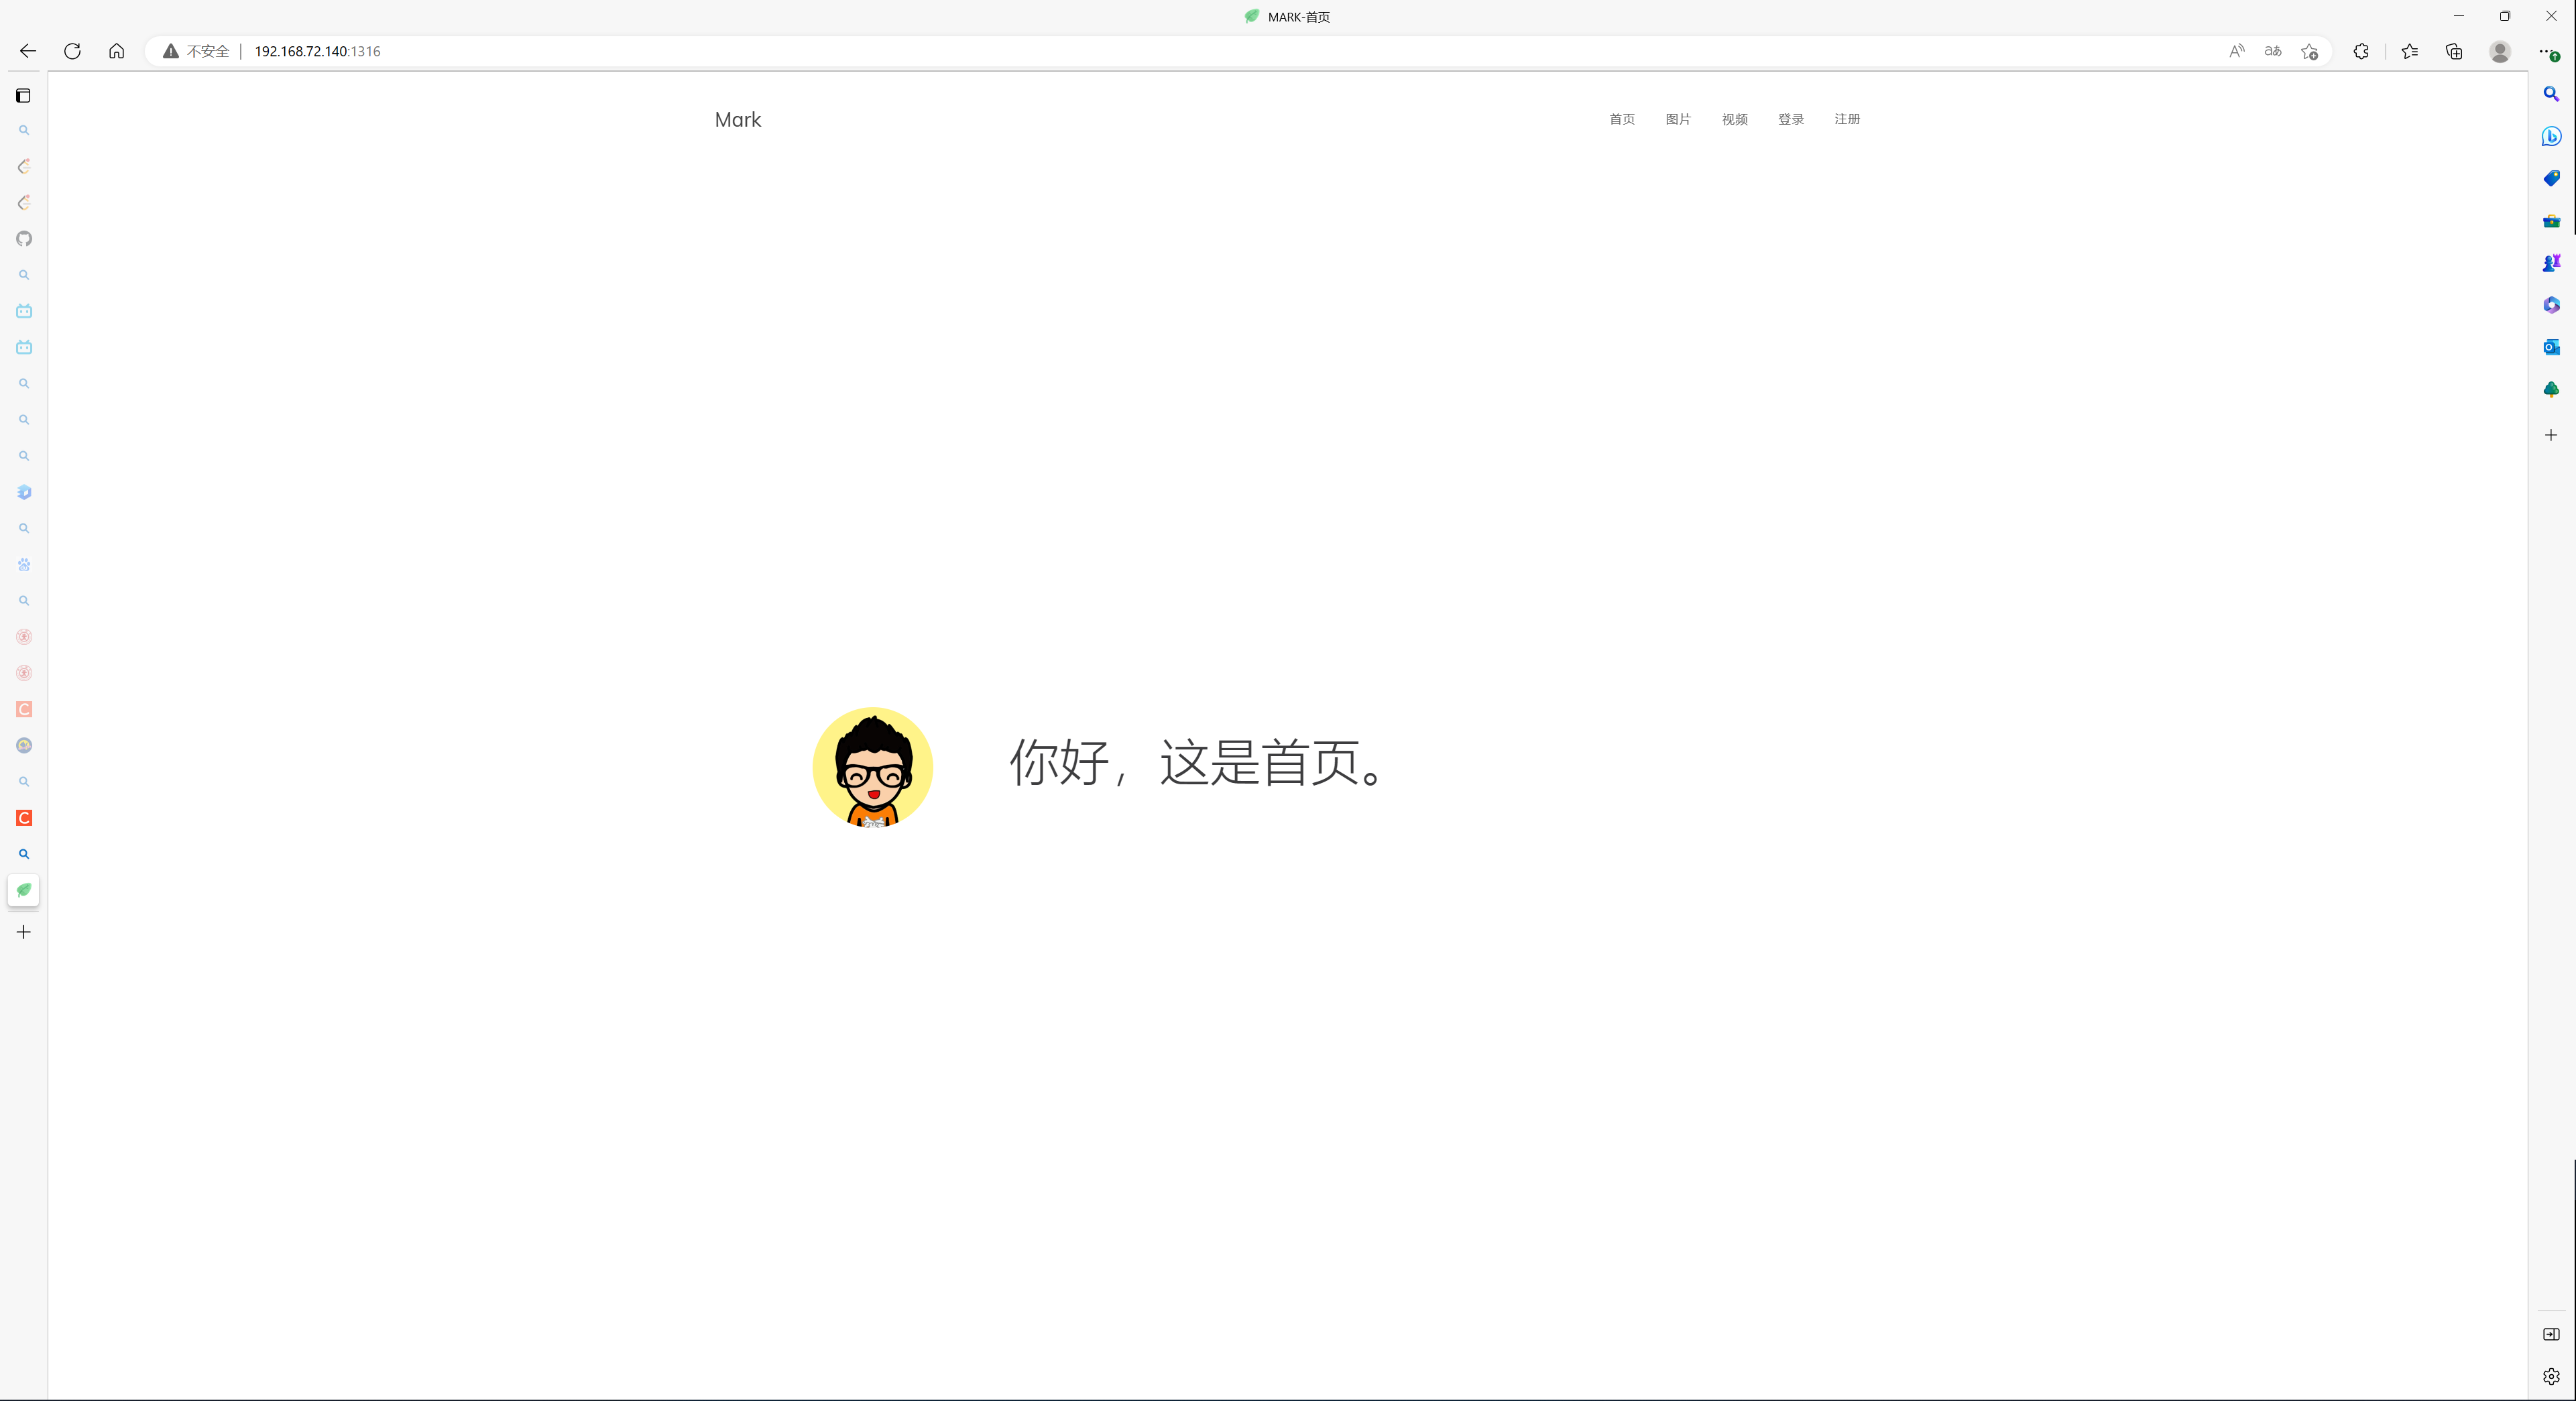
 然后可以从外部主机,访问虚拟机的ip地址加端口号
main函数代码比较简单
1
2
3
4
5
6
7
8
9
10
11
12
13
14
int main() {
/* 守护进程 后台运行 */
//daemon(1, 0);
WebServer server(
1316, 3, 60000, false, /* 端口 ET模式 timeoutMs 优雅退出 */
3306, "nowcoder", "nowcoder", "webserver", /* Mysql配置 端口号 , 用户名 , 密码 , 数据库名*/
12, 6, true, 1, 1024); /* 连接池数量 线程池数量 日志开关 日志等级 日志异步队列容量 */
server.Start();
}
-